Watching a trip
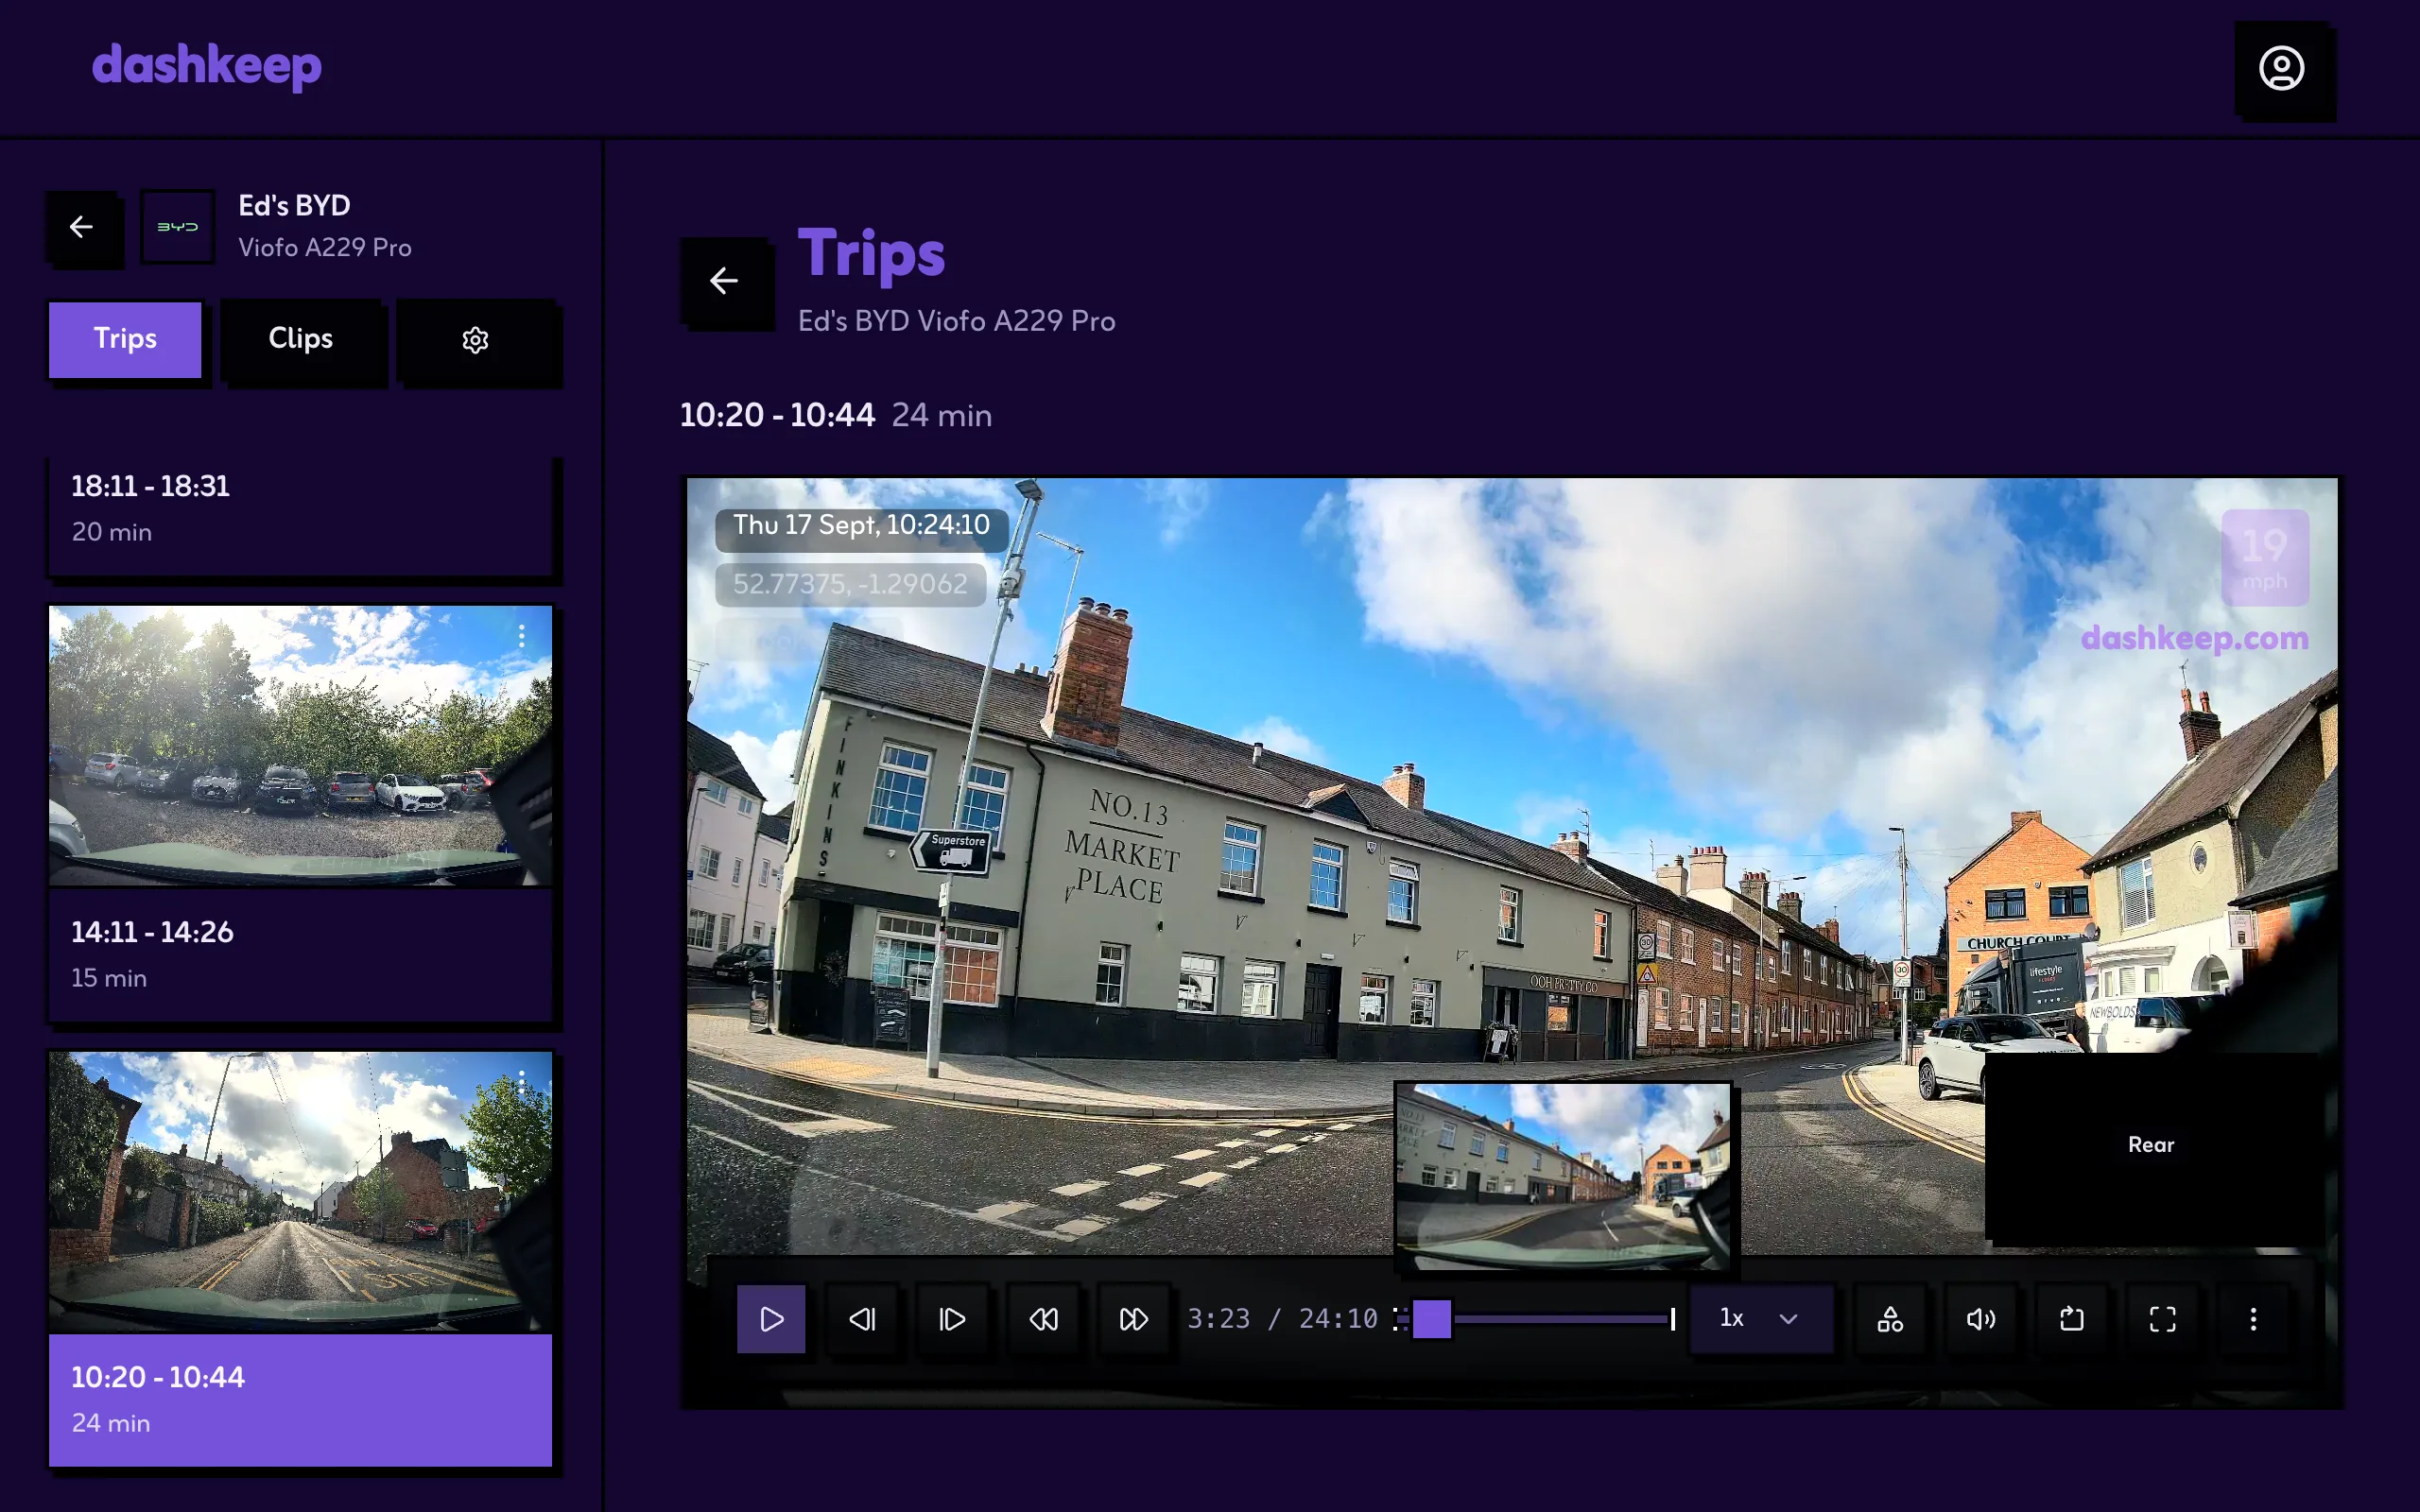
Select a drive to open the player. The front camera plays first, and the other cameras appear in small preview boxes beside the footage. Selecting one switches channels at the same moment. Over the picture, the overlay shows the speed, the clock, a road badge with the street name when DashKeep recognises the road, and a watermark. A speed-limit sign sits left of the speed: a red circle in most countries, a white “SPEED LIMIT” rectangle in North America. The sign shows the road’s limit in your chosen speed unit, rounded to the nearest 5. The map traces the route. The device’s home zones appear on the map as circles, and you can see every entry during playback.
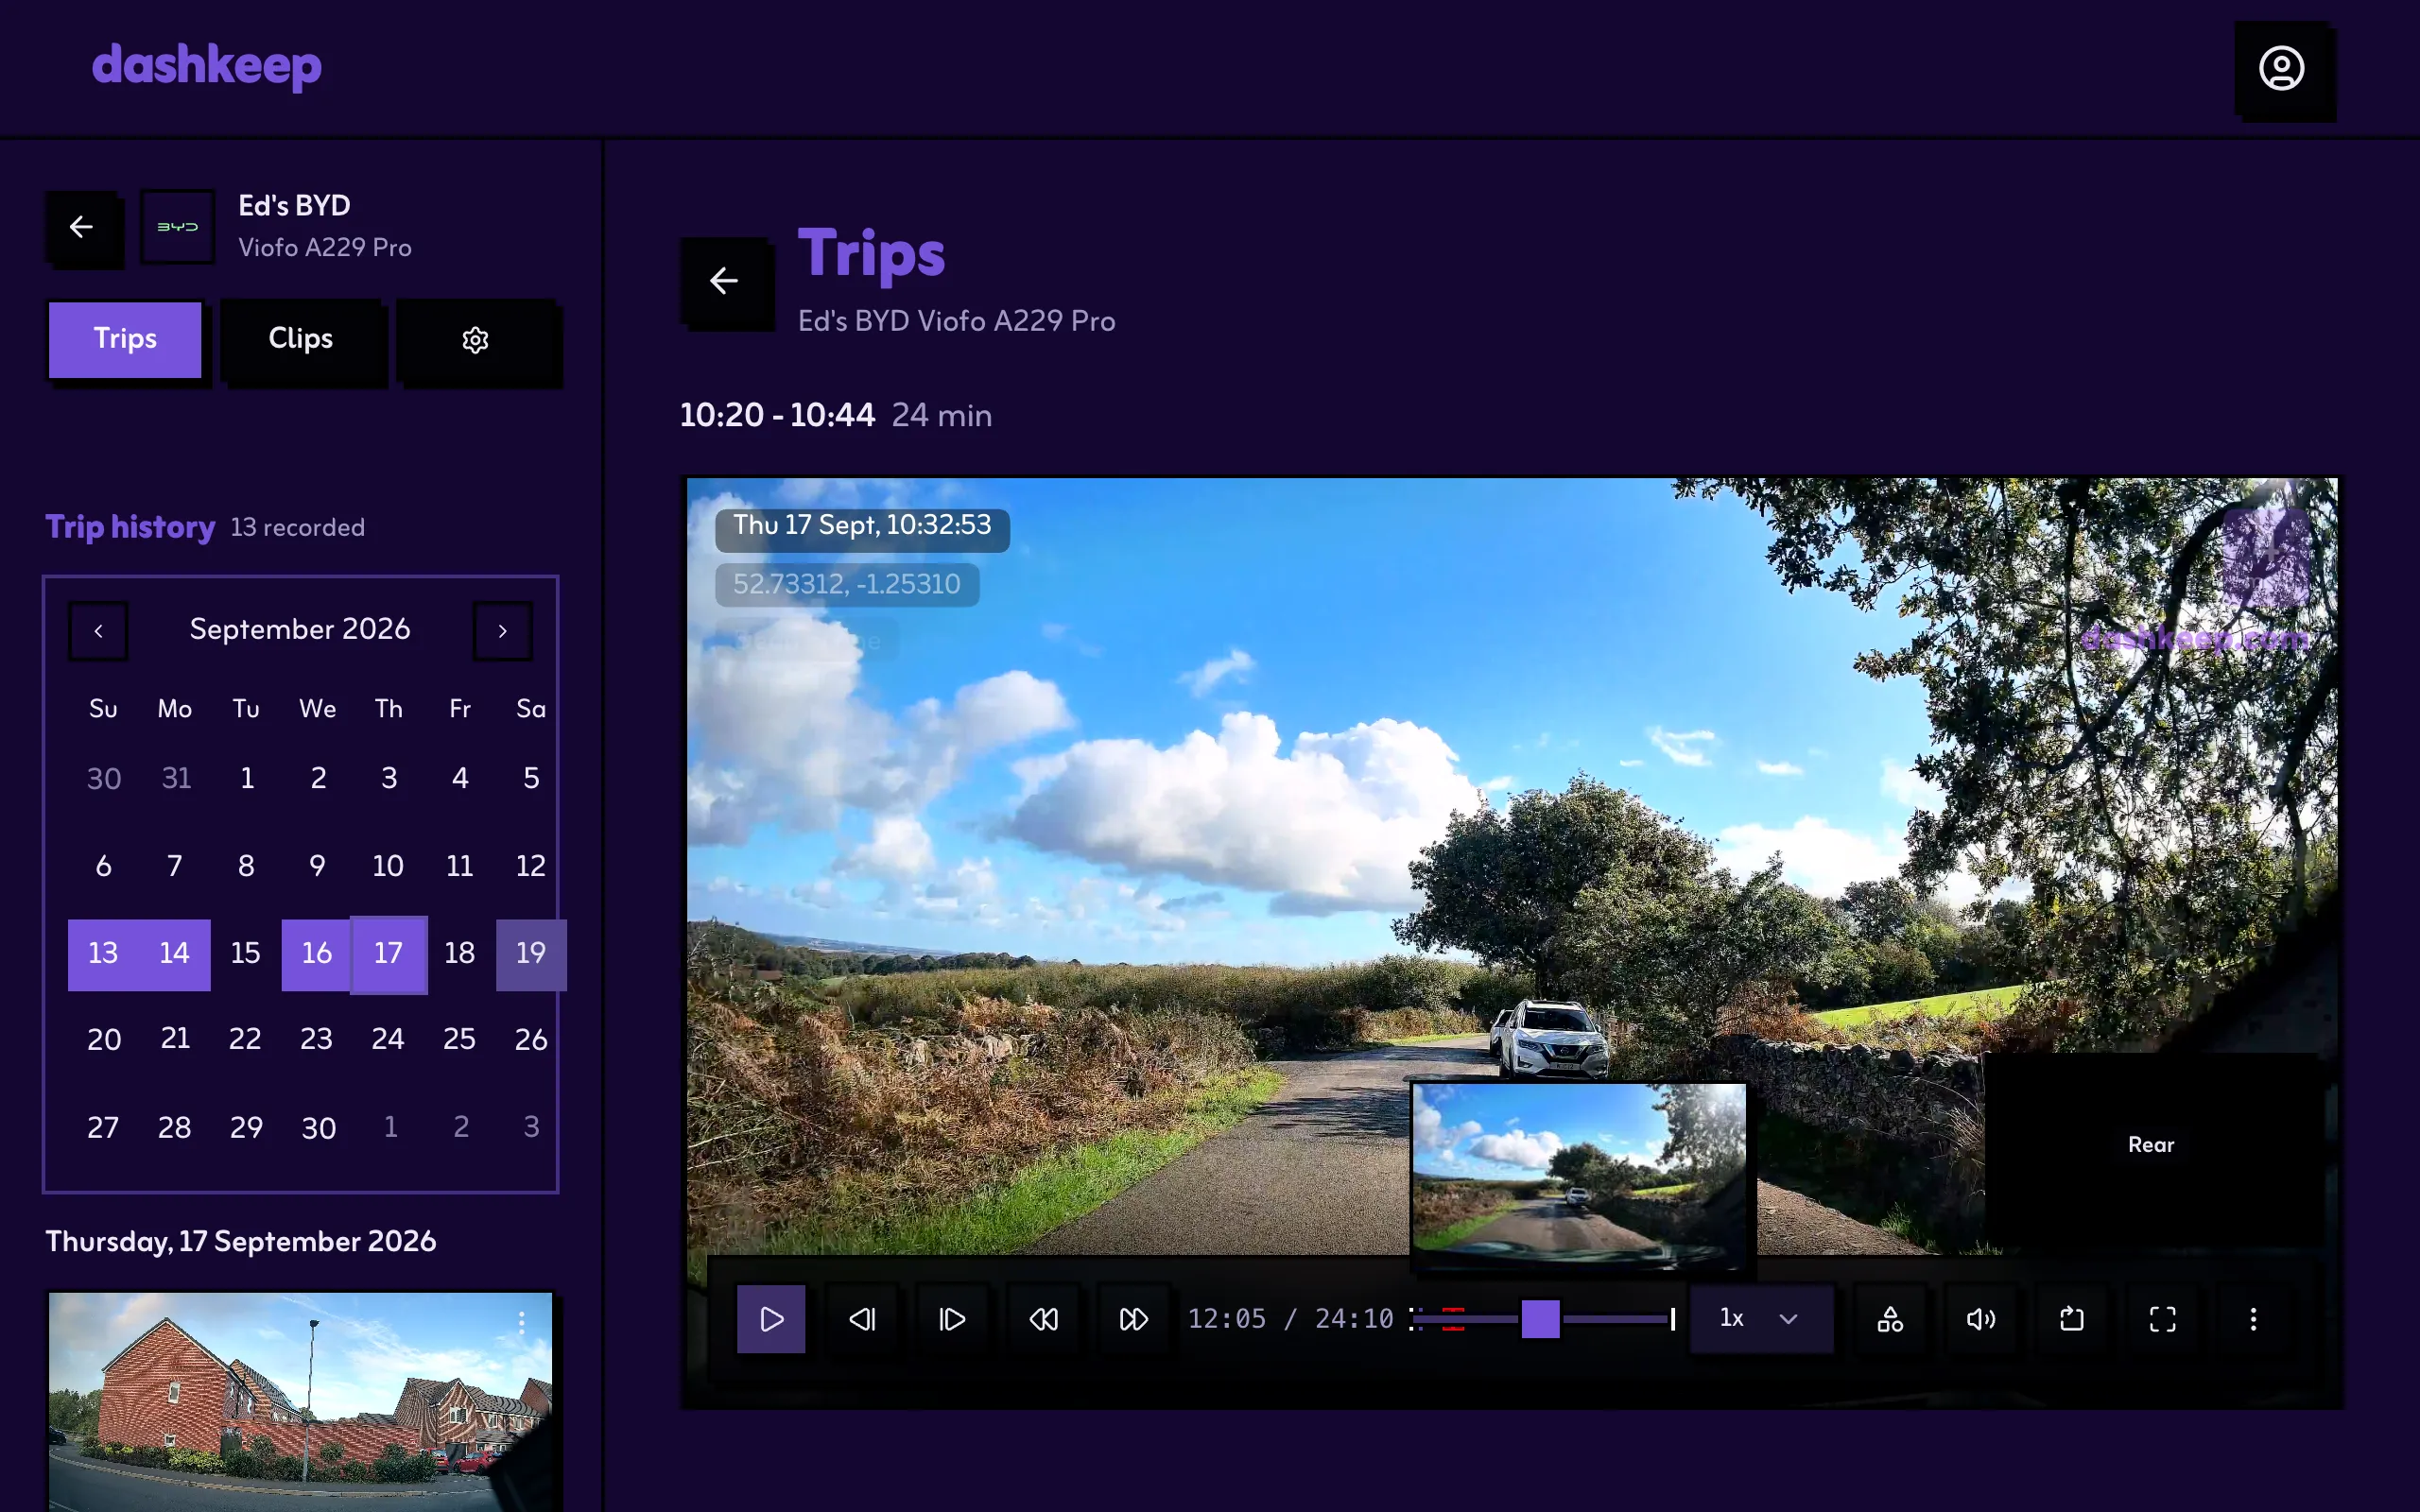
The control bar at the bottom of the footage contains everything:
- Play and pause, plus a playback speed selector from 0.5x to 2x.
- Skip to previous event and Skip to next event. Each jump lands 5 seconds before the event, so a moment of lead-in plays first. Impacts, parking, and the detected drive events all count as events. On the clip player the same buttons jump 15 seconds.
- Frame stepping buttons, and the comma and period keys, move the playhead one frame at a time while paused.
- The timeline. Drag to any moment. The drag snaps to event lines. On desktop the scroll wheel zooms the strip, on mobile you pinch. A forward jump shows a blurred preview of the target while the stream catches up.
- Sound, and full screen. In full screen the timeline moves to the top and the controls reduce to play and pause, frame stepping, the skip buttons, and exit full screen. Full screen works on iPhone Safari and iPad too.
Under the footage, the timeline is a DVR-style map of the trip: a ruler with wall-clock times, and thumbnails rendered into the strip. Zoomed out you see one still per clip. Zooming in splits each clip into its sprite frames, adding more as you go. While playing, the view follows the playhead. Normal footage is plain, deleted footage is a grey span, and protected footage is a red span. Event lines sit 5 seconds before each event, so clicking a line (or letting a drag snap to one) plays the lead-up instead of landing on the moment, and annotations show as bars along the bottom edge for as long as each object lasts.

Detected events are also listed under the timeline. Each row shows the closest thumbnail frame and a severity colour. Events within 10 seconds of each other form one row, and selecting a row jumps to that moment and scrolls the video back into view.
Keyboard shortcuts while the player is open: Space plays and pauses. The arrow keys skip 5 seconds, or 30 with Shift held. Comma and period step a frame. M turns sound off and on, and F toggles full screen.
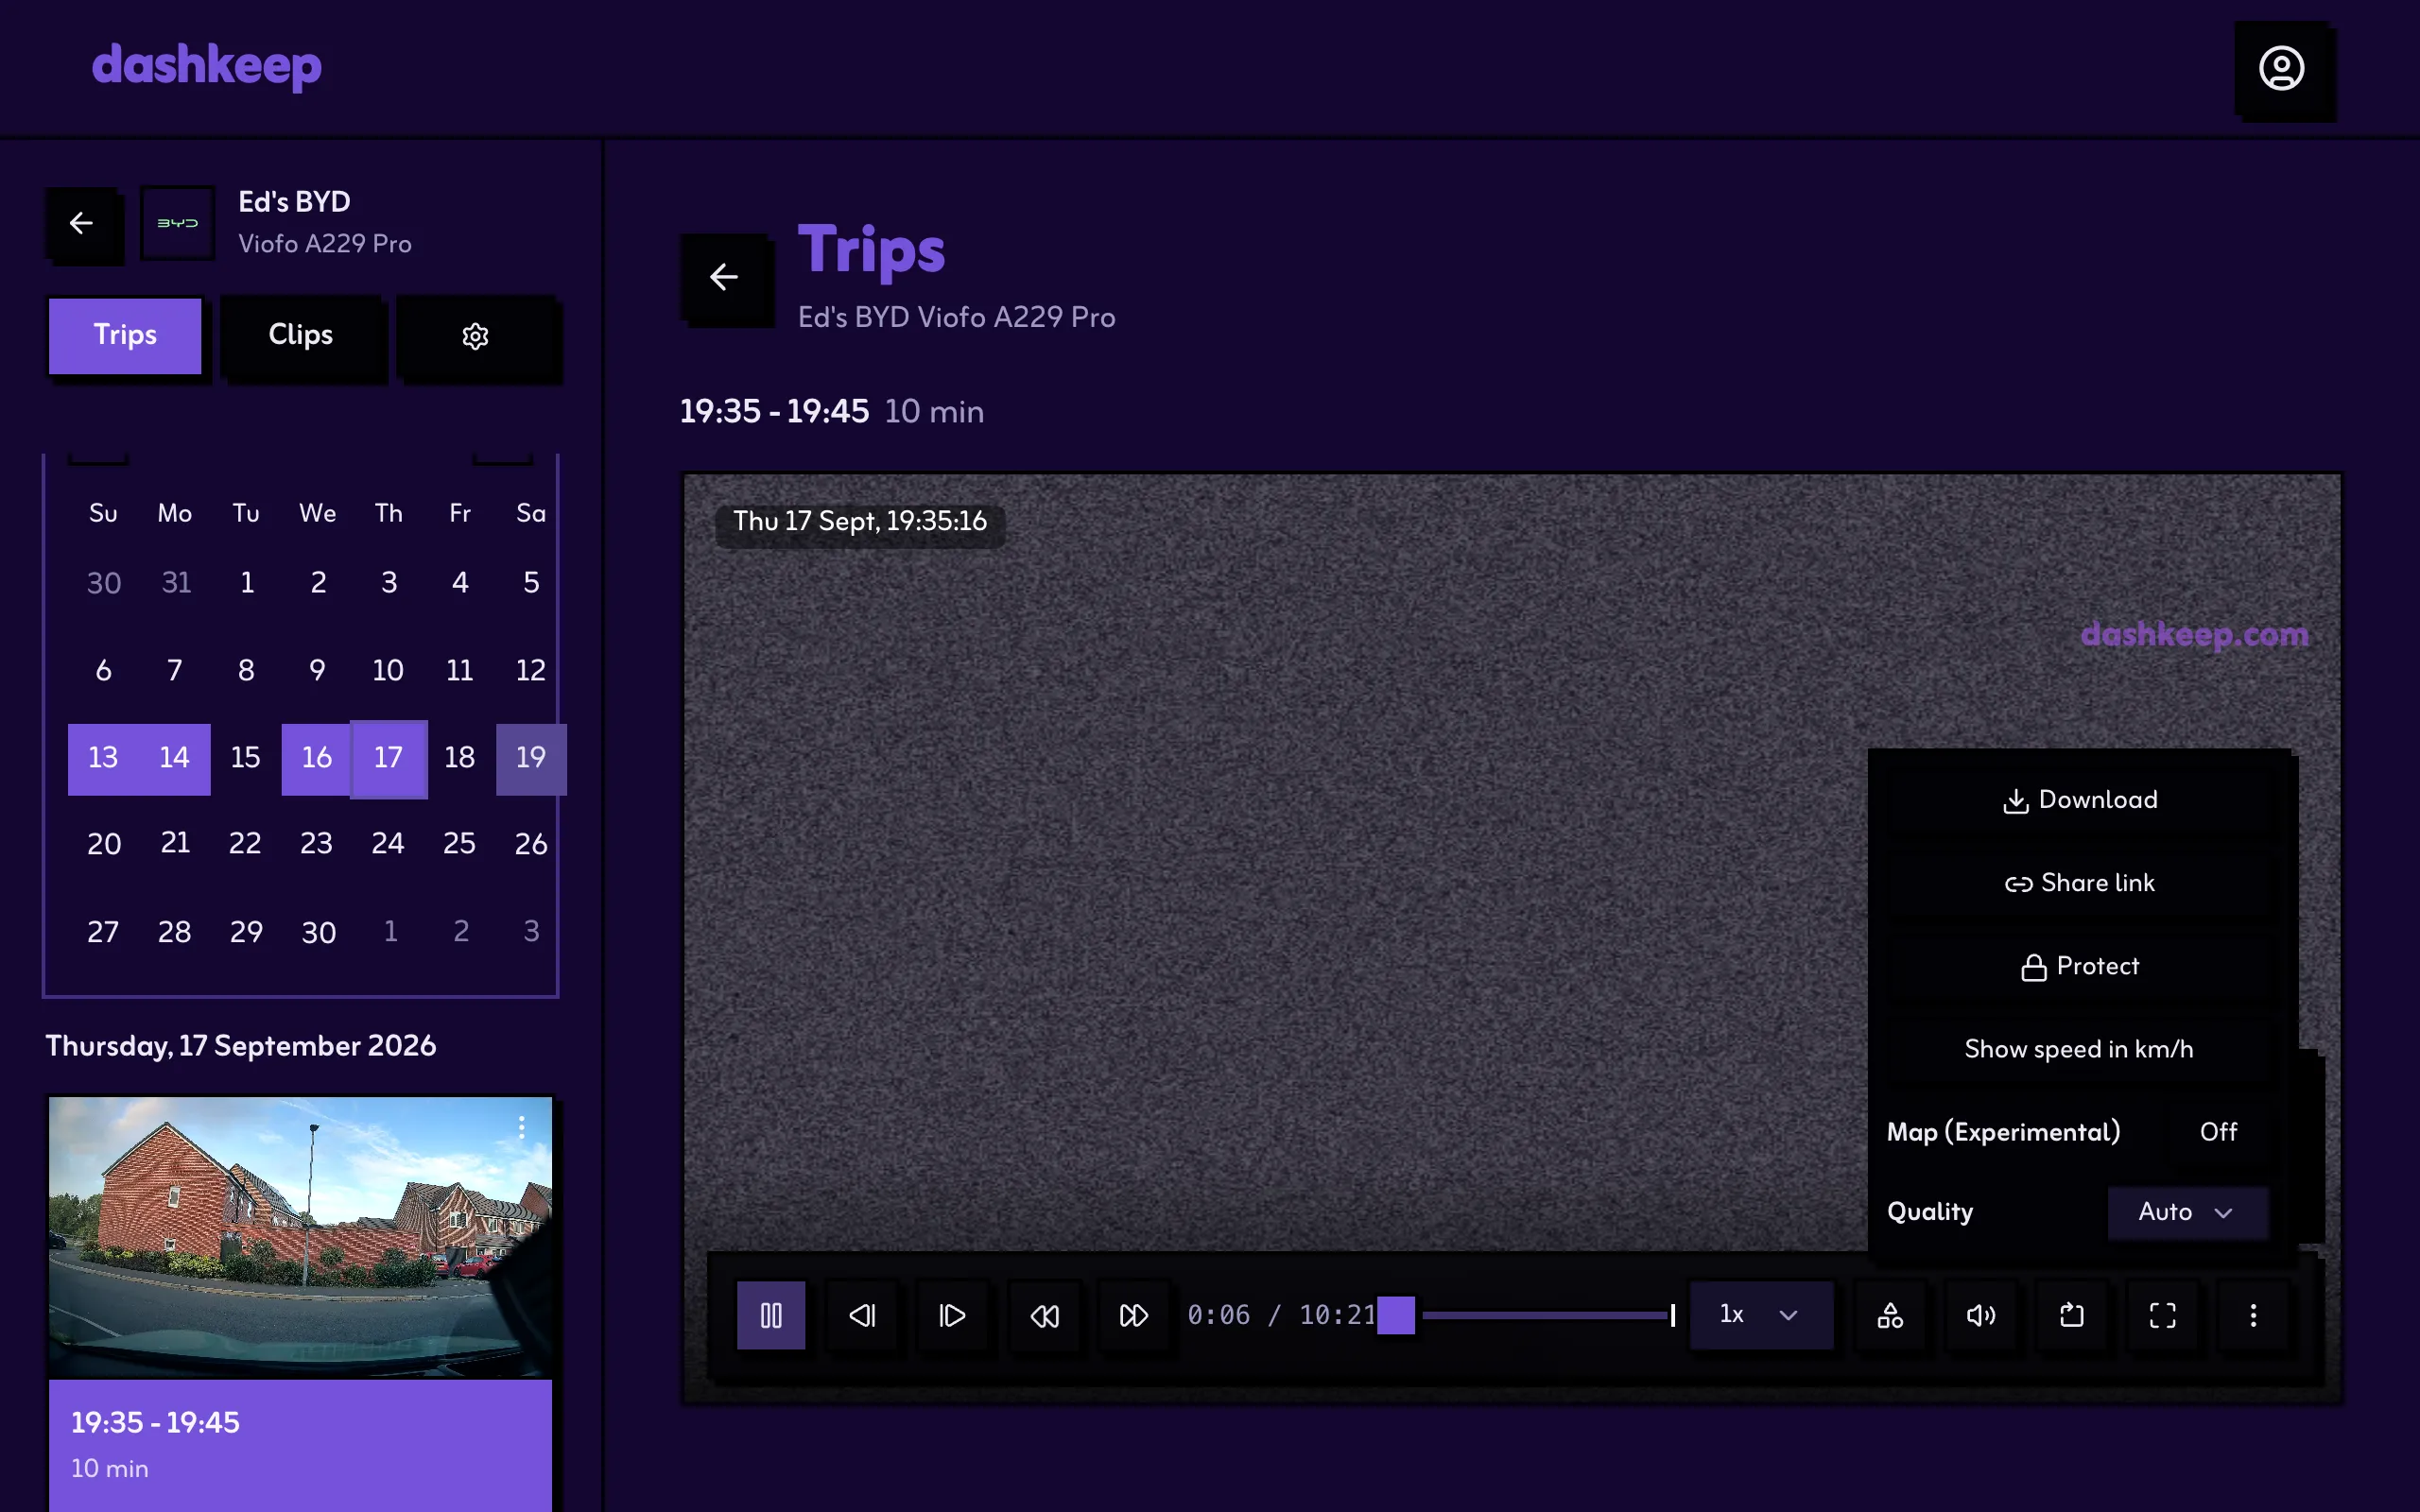
The More controls menu, the three dots, contains the rest: Download, Share link, Protect or Unprotect for the clip on stage. It also has Show speed in mph or km/h, the experimental Map overlay, and a Quality selector. The browser remembers the Map overlay choice. The Quality selector has three settings: Auto follows the connection, Best keeps the top quality, and Fast pins 480p.
A red Locked chip appears on protected footage while it plays.
See Protected and deleted clips for how protection works.
Annotations
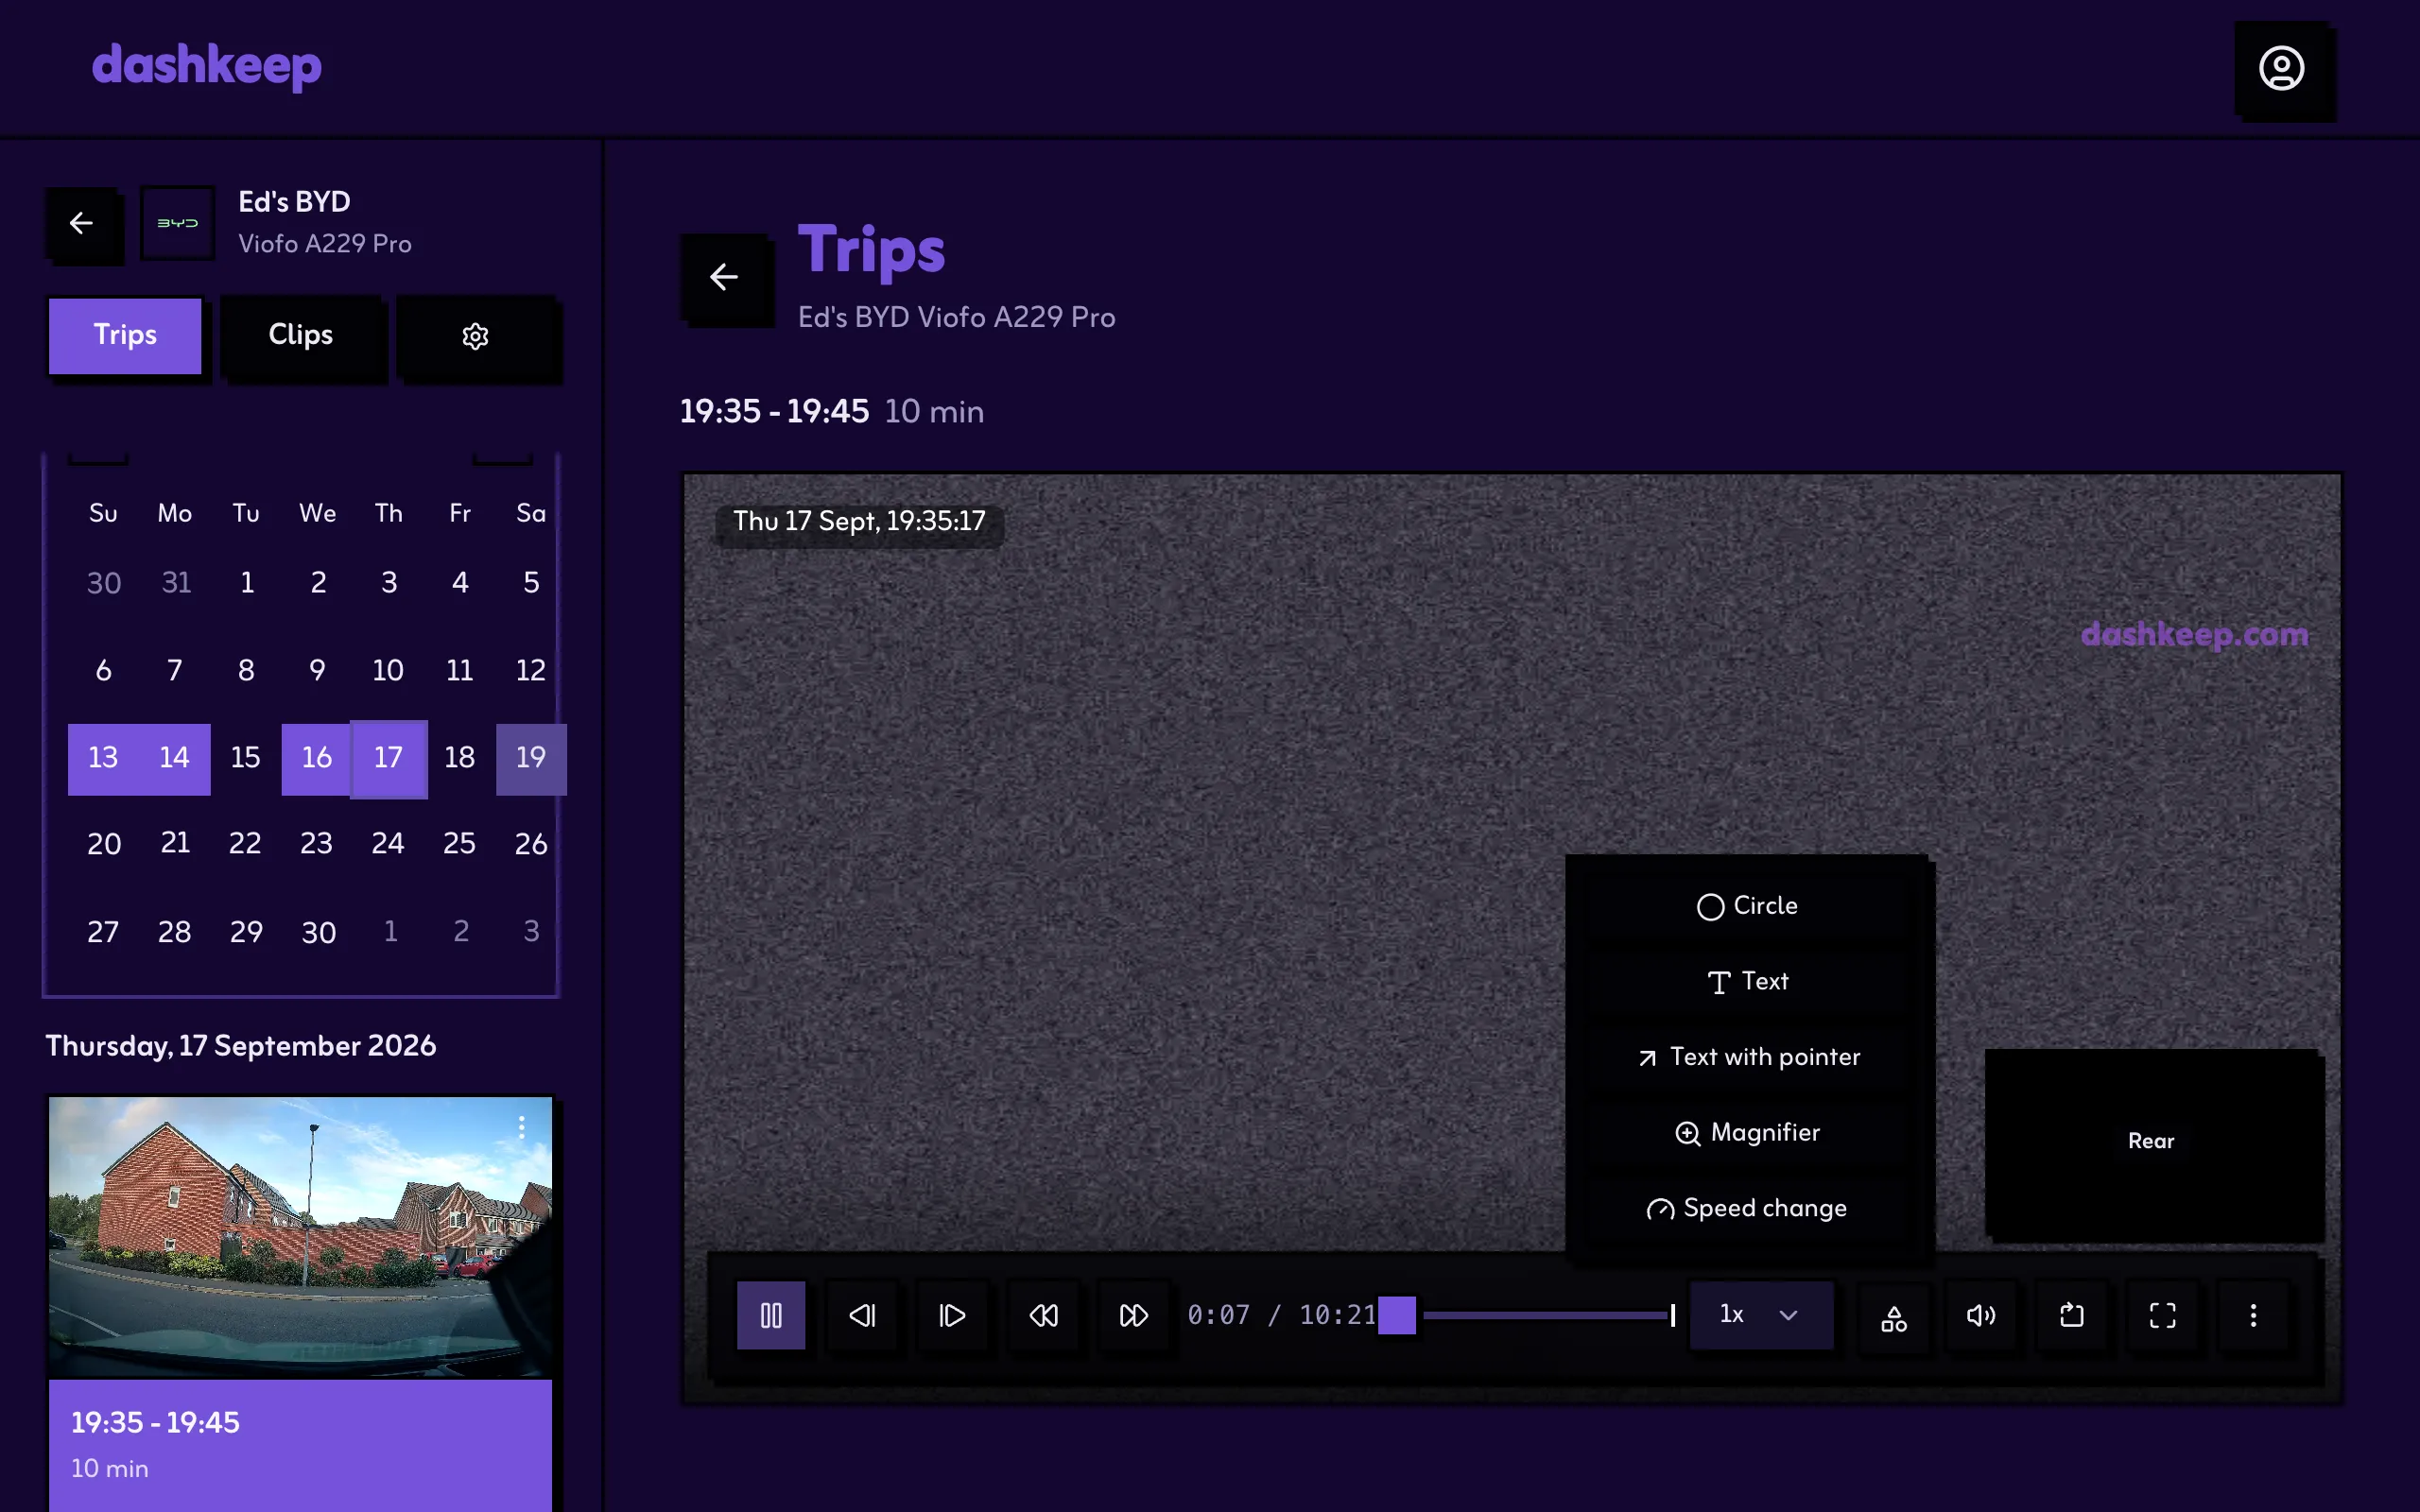
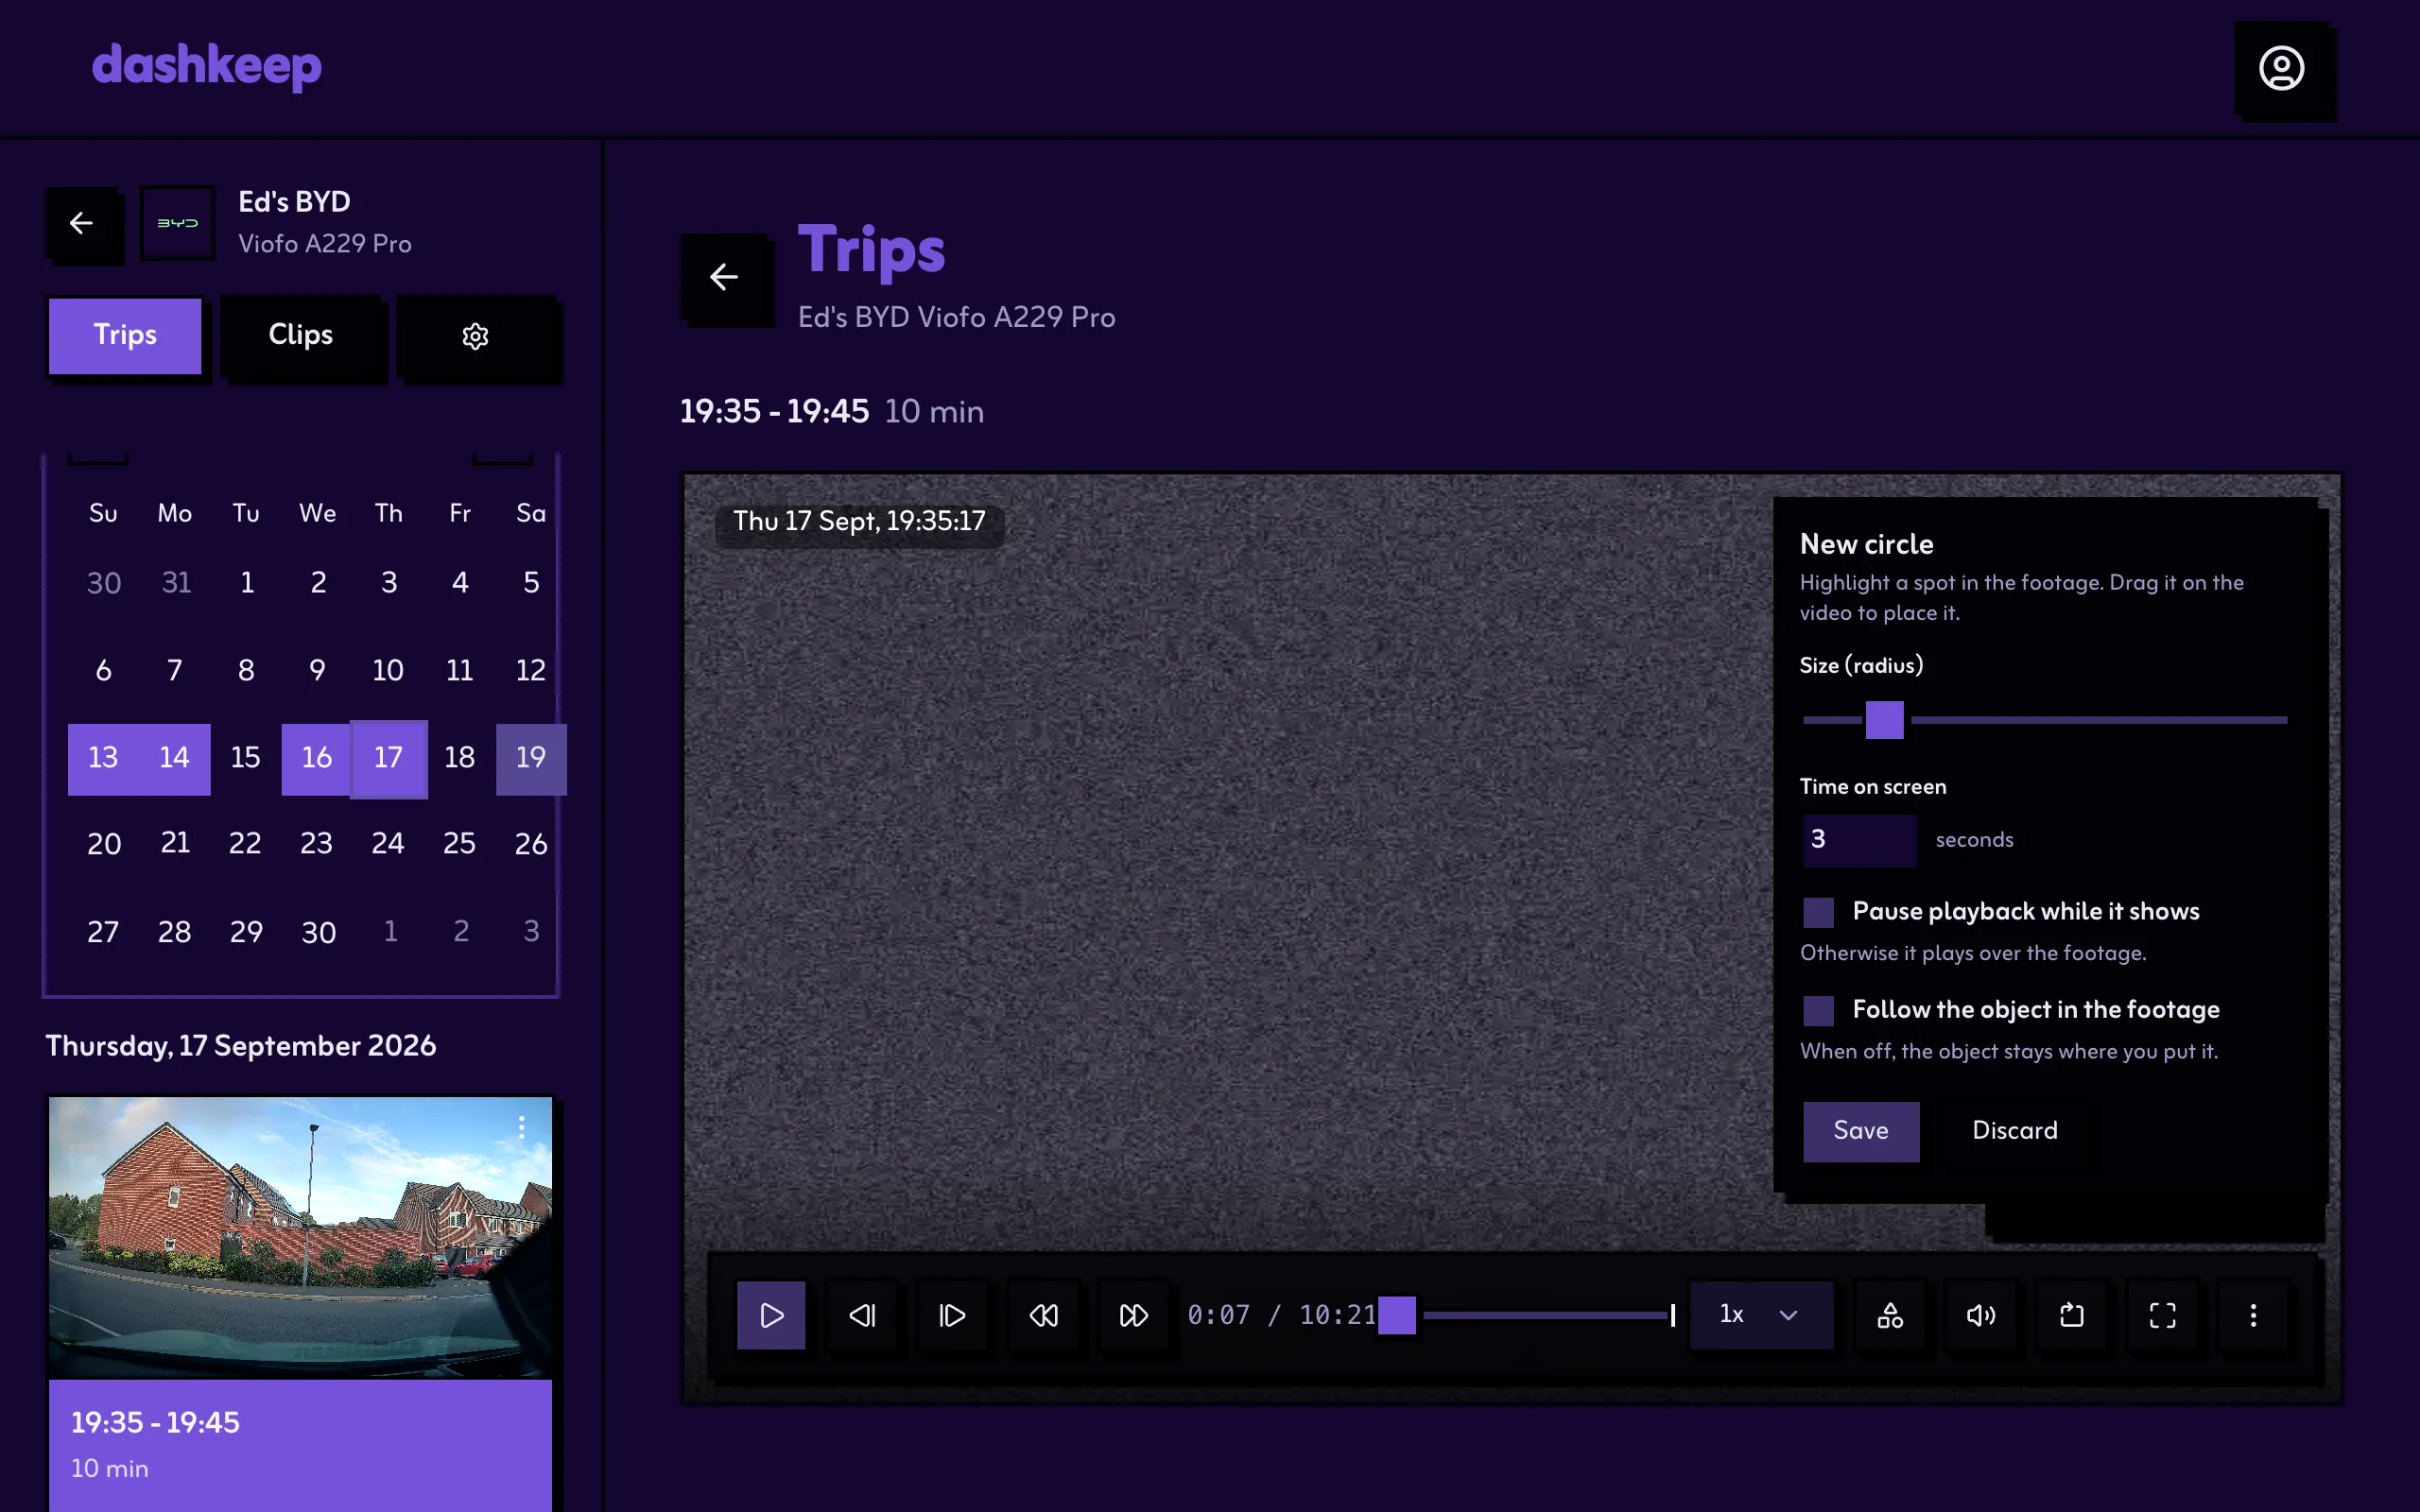
Section titled “Annotations”The Add an object to the video button in the control bar opens the object types: Circle, Text, Text with pointer, Magnifier, and Speed change. Playback pauses, the object appears centred on the footage, and you drag it onto the point of interest before saving. Objects overlay the footage during playback, and exports can include them.