Install and connect
Step 6: Install
Section titled “Step 6: Install”The install stage has three parts.
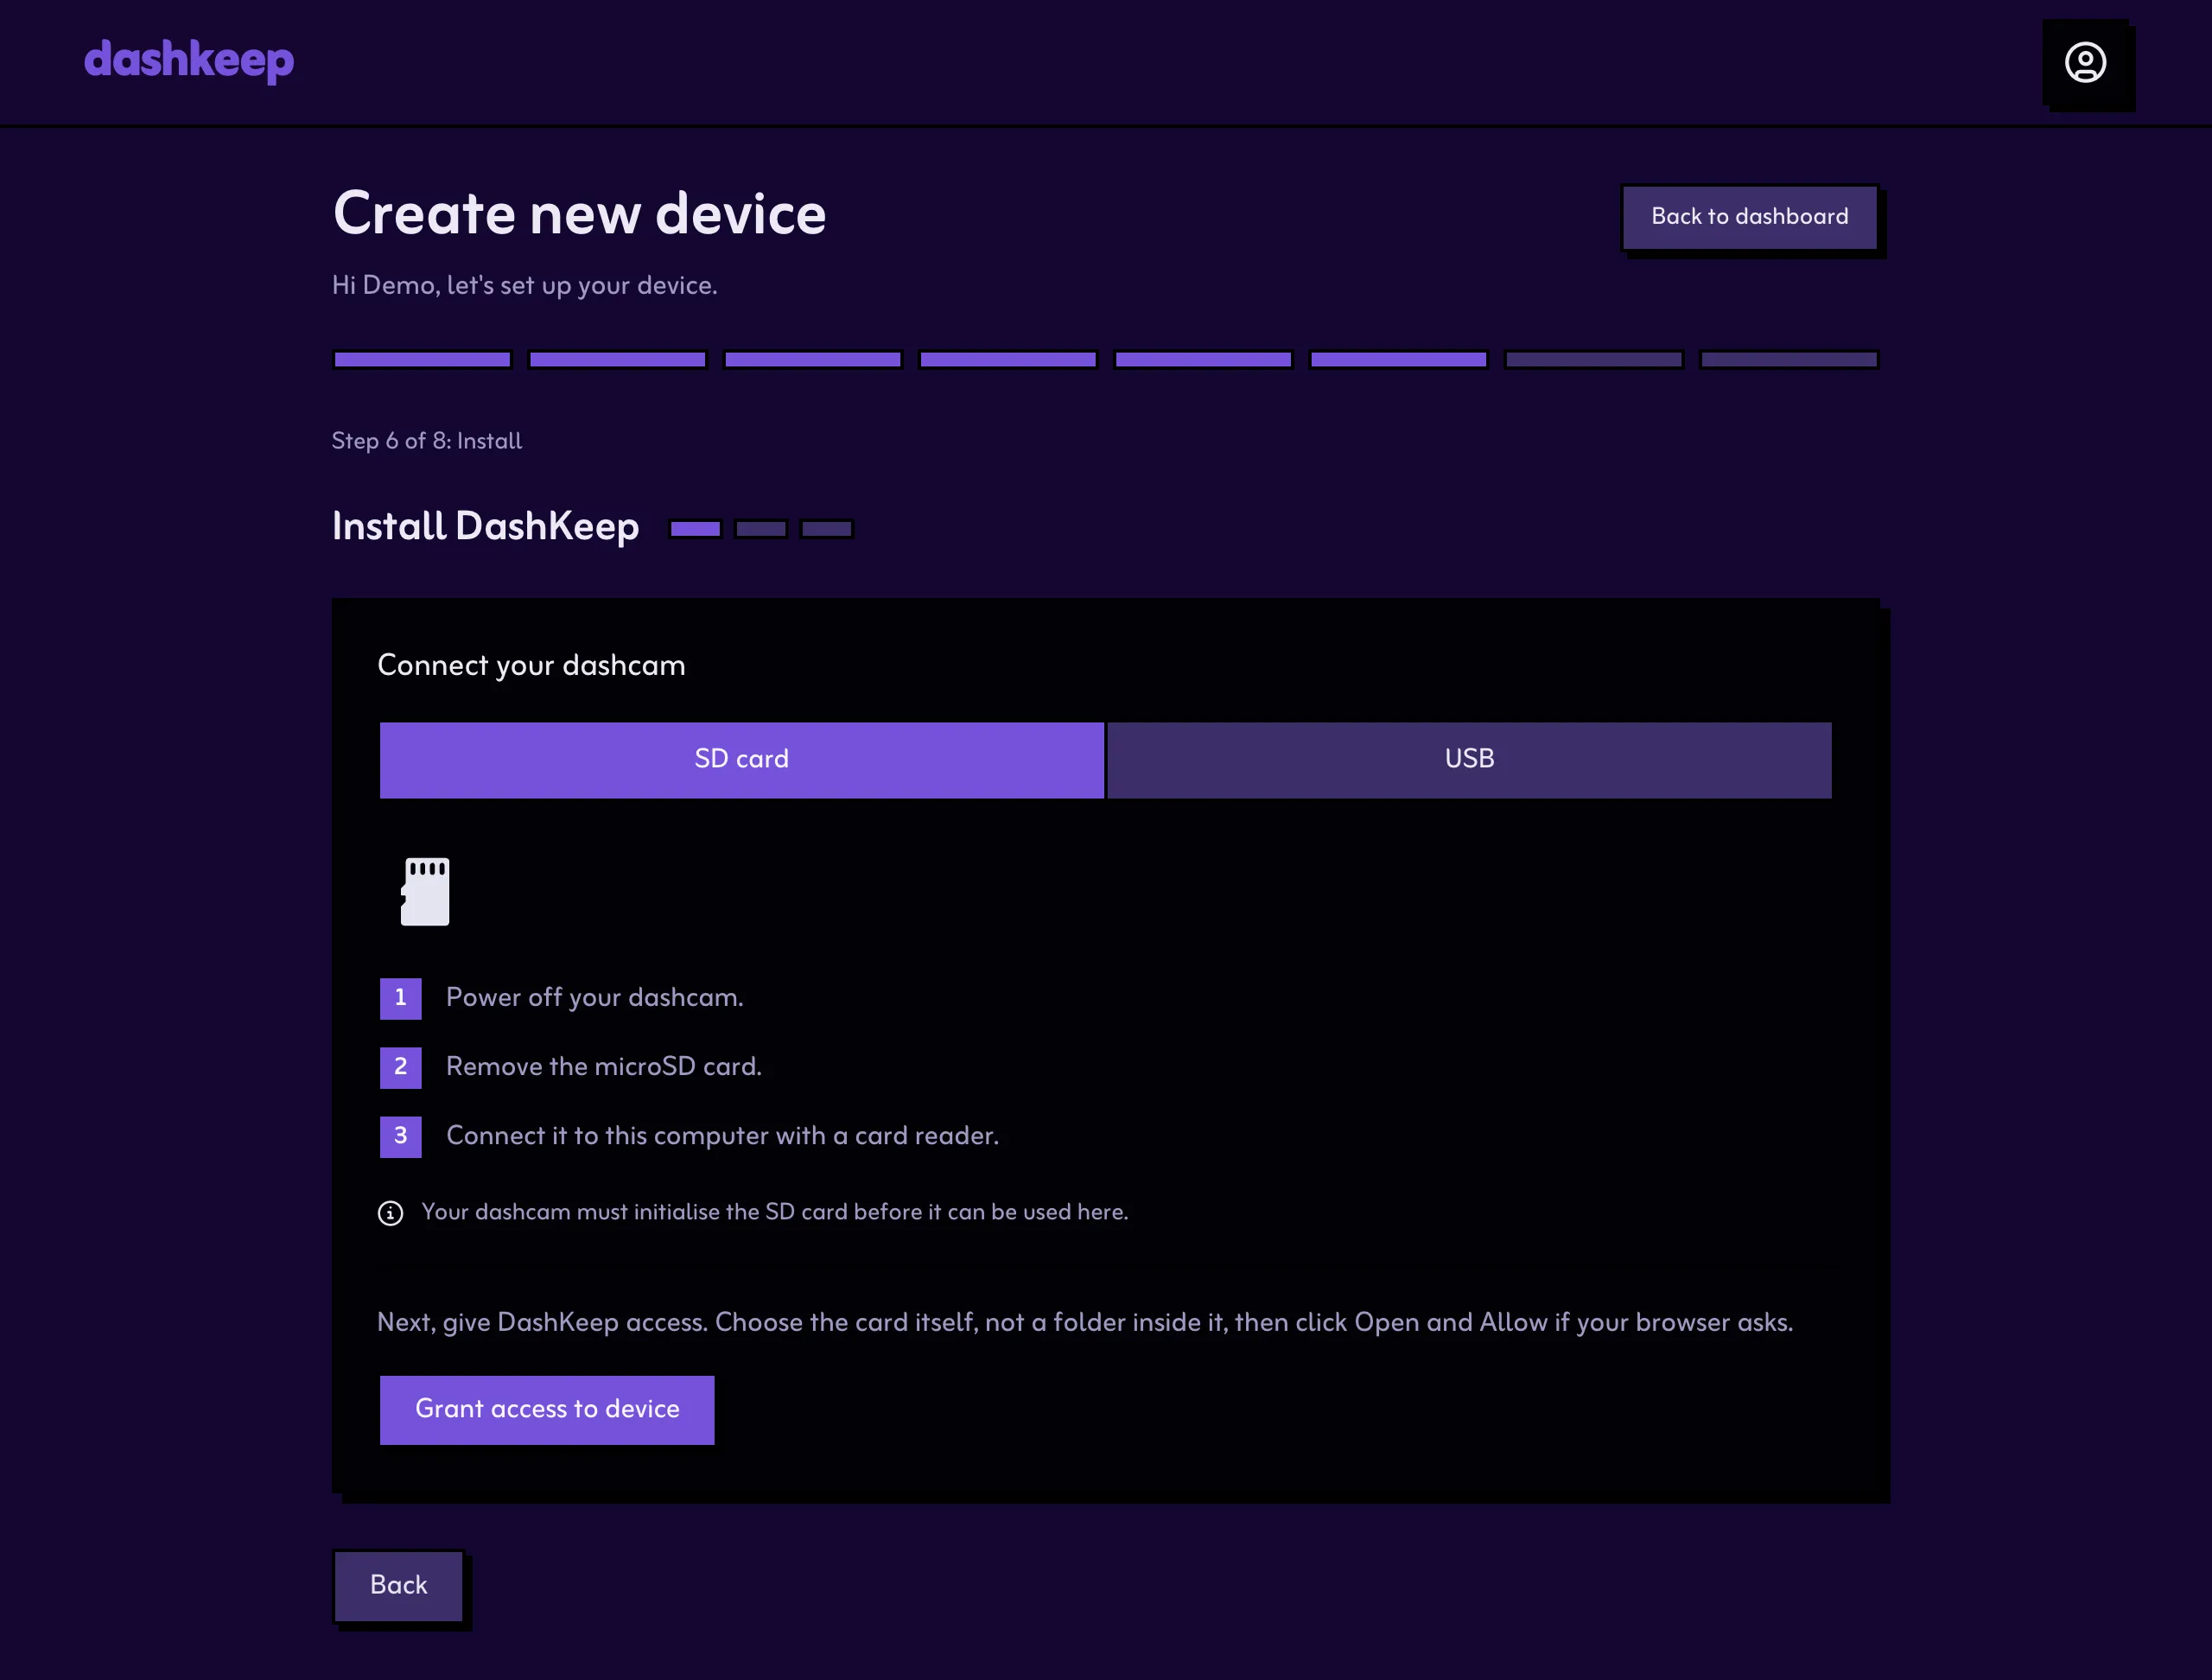
Connect the dashcam. Power the camera off, take the memory card out, and plug it into this computer. Give the browser access when it asks. If you connect the camera over USB instead, pick “Computer Connection” or “Storage Connection” on the camera’s screen when it asks. Cameras without a screen never ask: use the memory card.
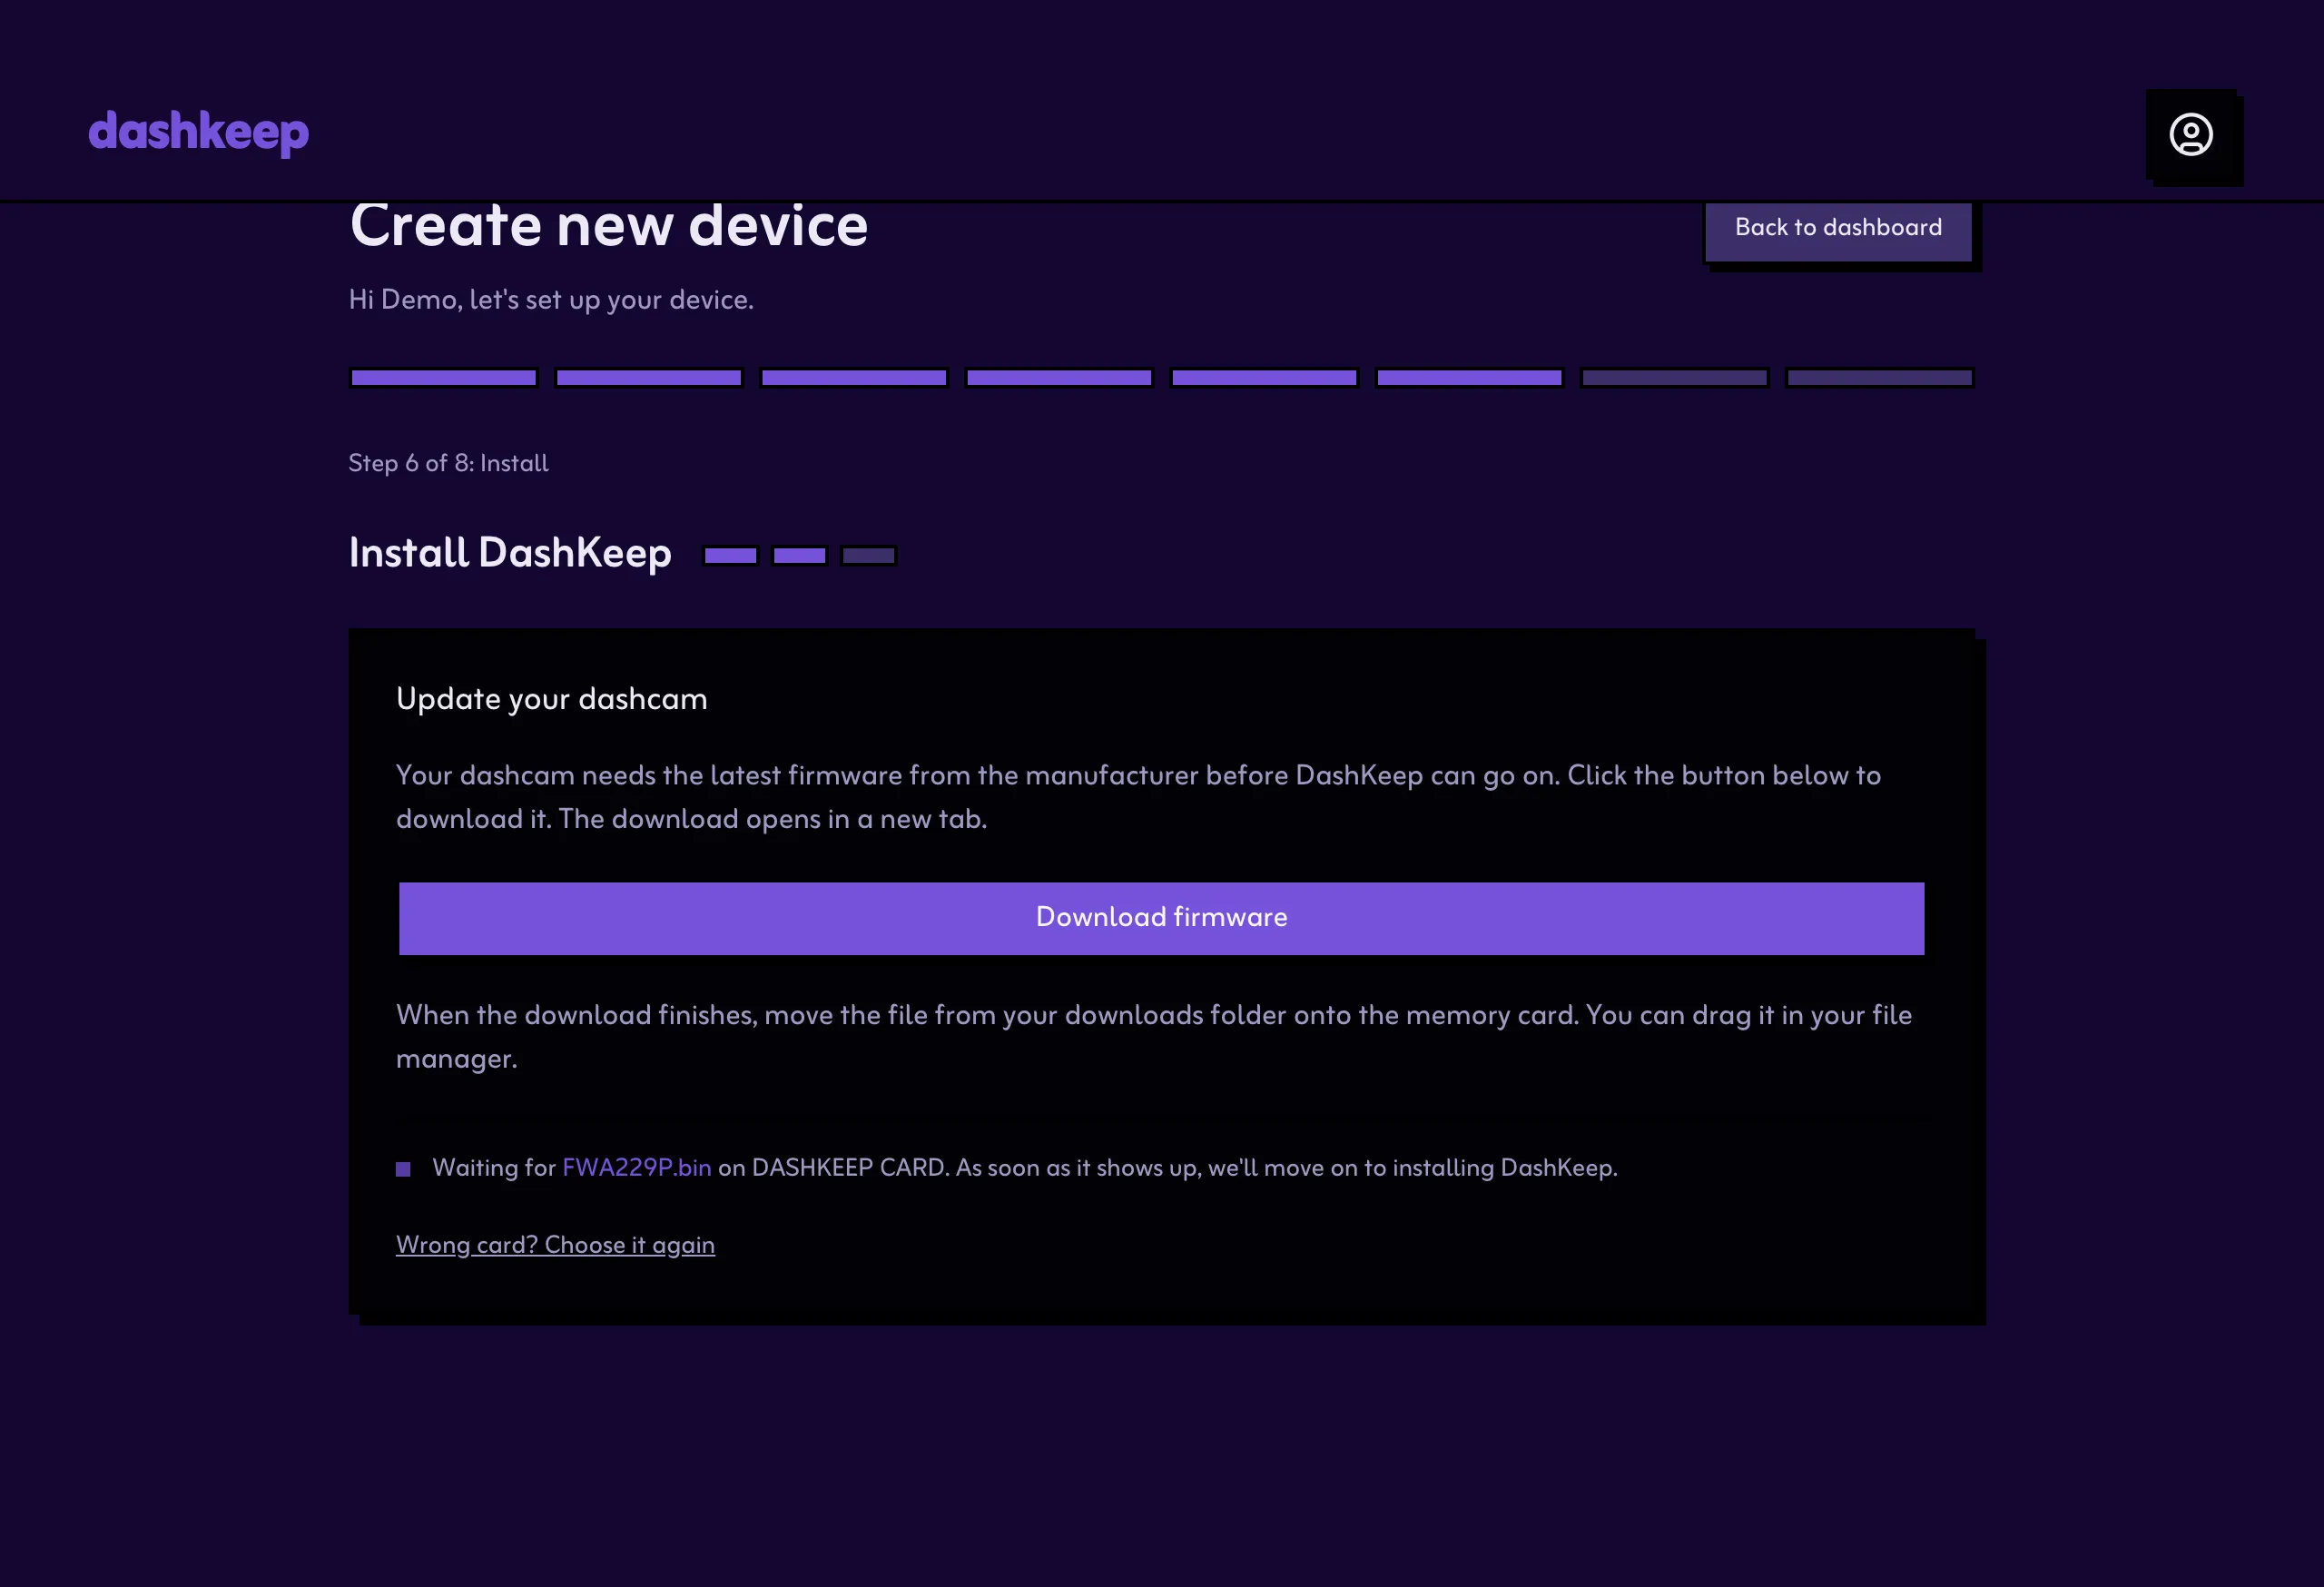
Update your dashcam. Download the manufacturer’s firmware with the button on the page, then move the downloaded file onto the memory card. The page watches the card and moves on by itself when the file arrives.
Some manufacturers package the firmware differently, and the page tells you when it matters. Redtiger ships firmware as a ZIP archive, so extract it first and copy the enclosed .bin file onto the card. Redtiger also notes their updater may format the card during installation, so keep nothing else you need on it. Vantrue ships plain .bin files that go straight onto the card.
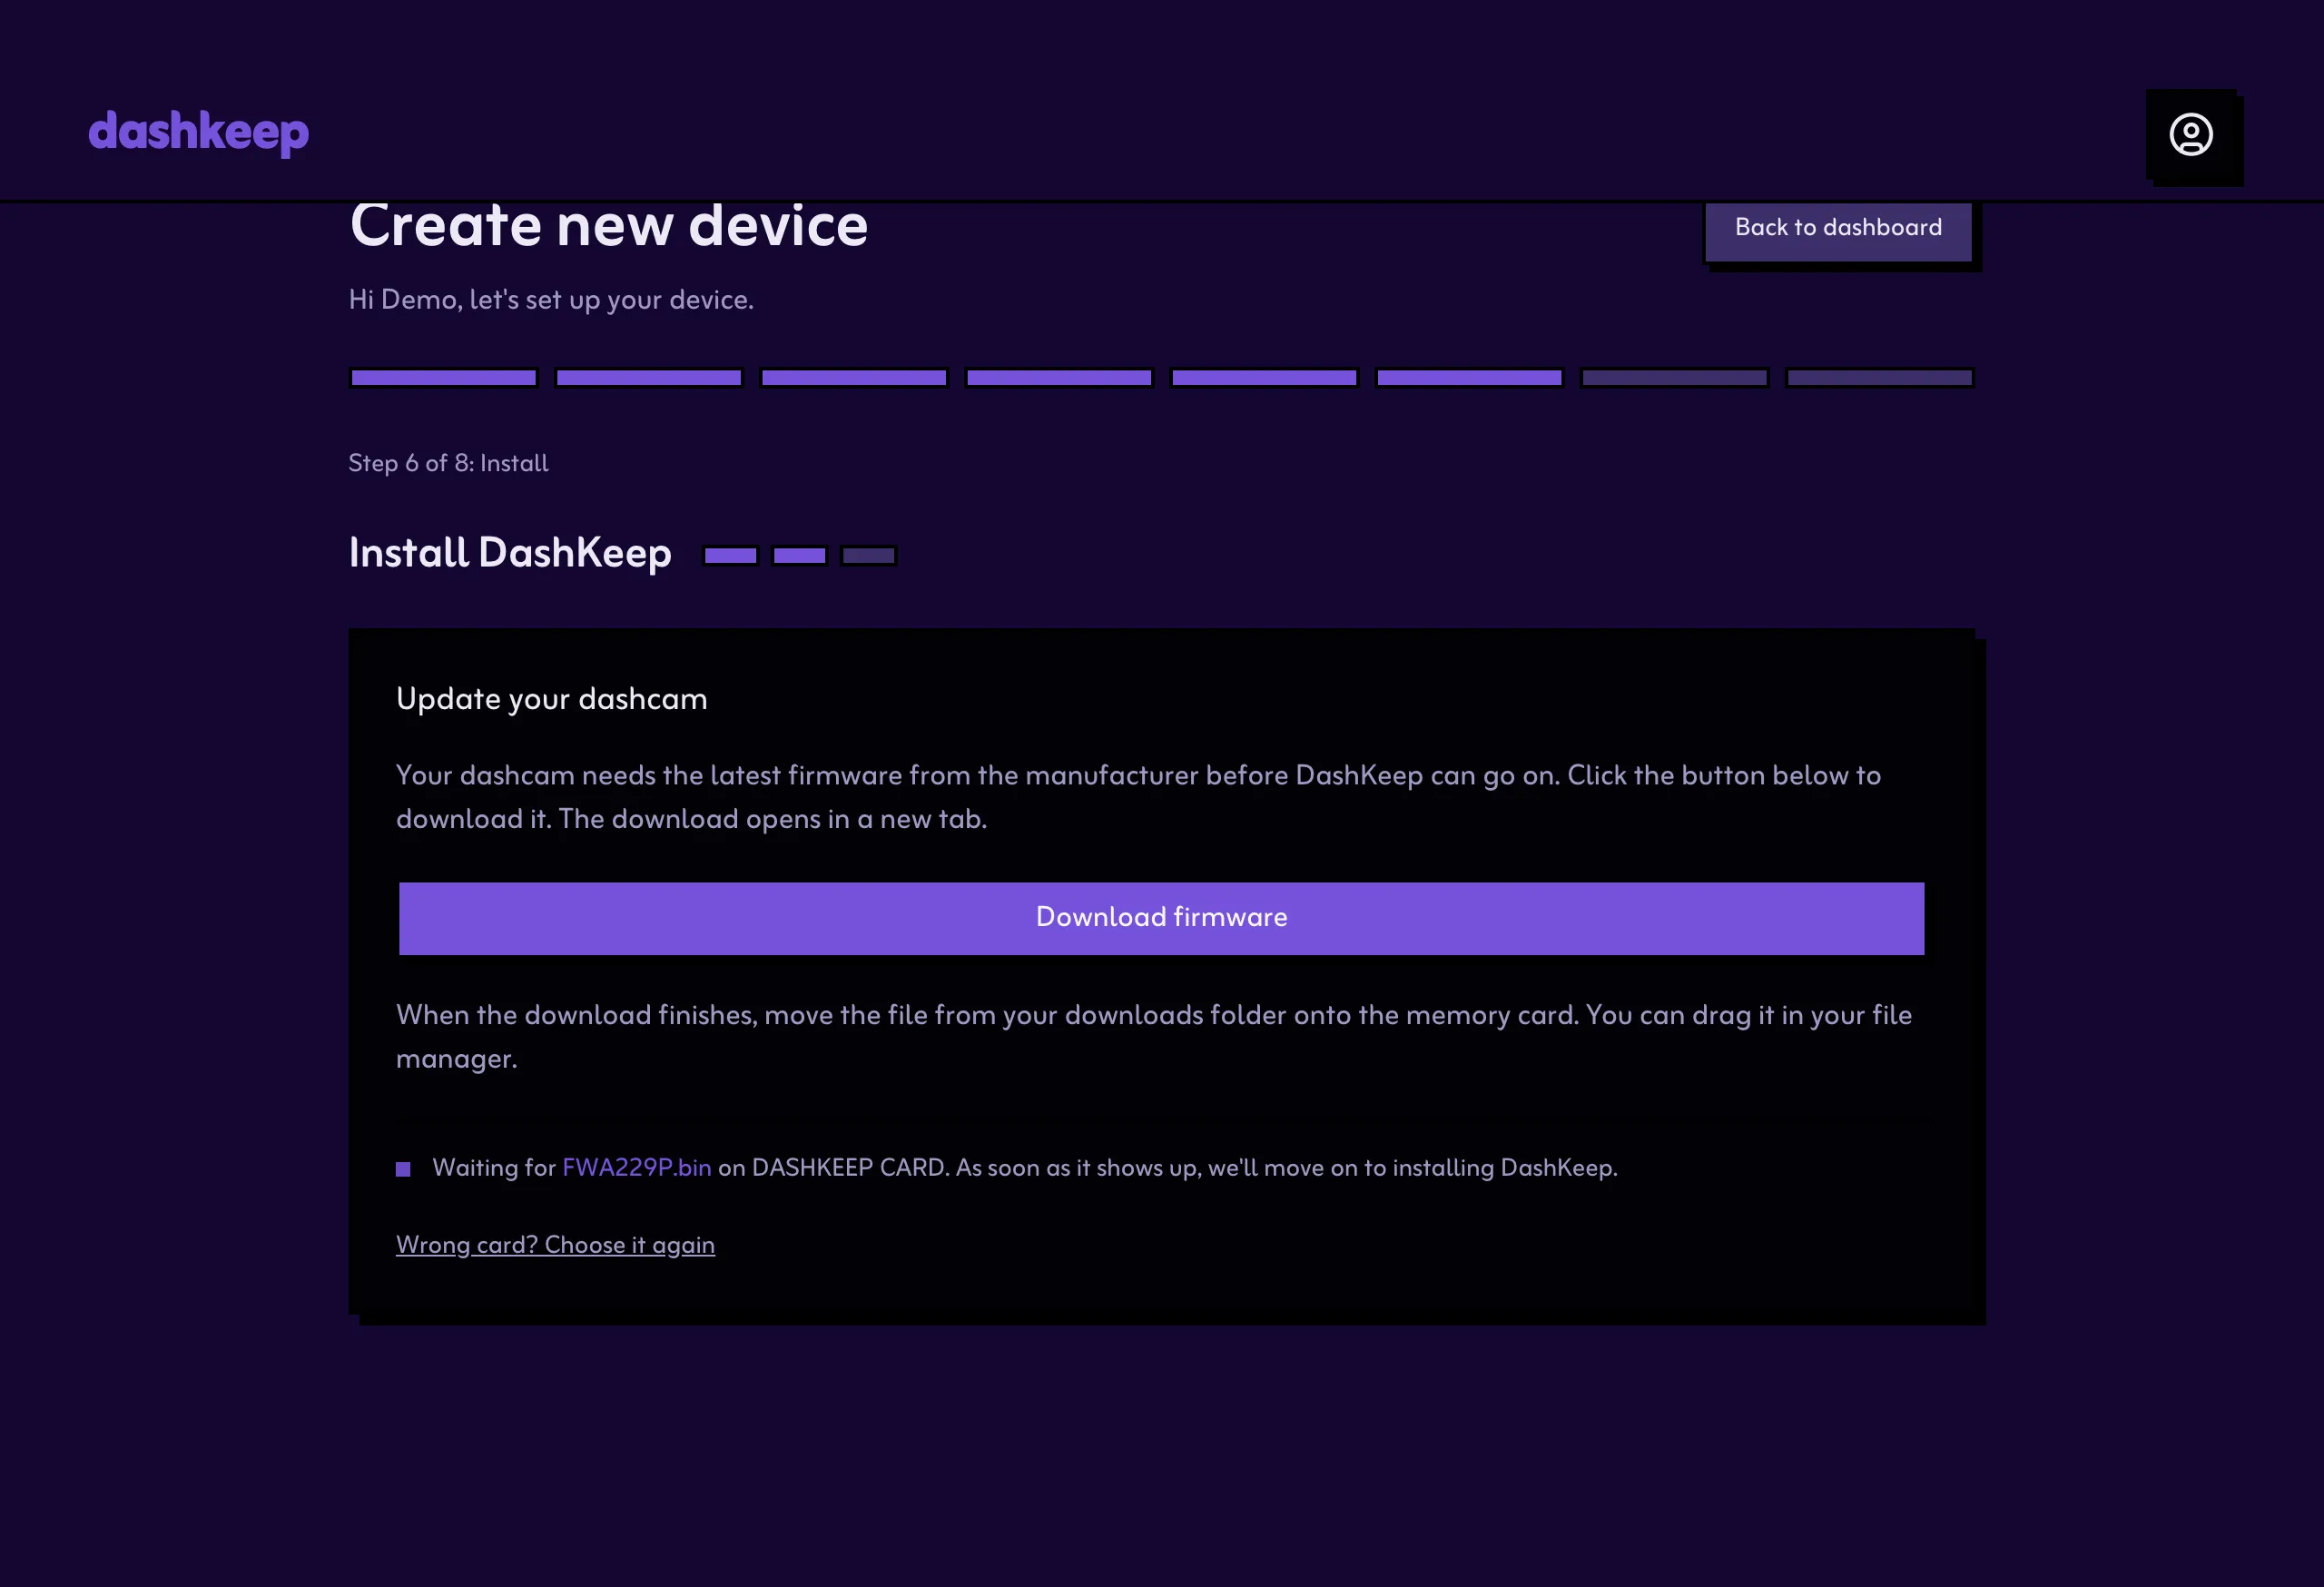
Install DashKeep. The browser patches the firmware in place and writes the DashKeep agent and its configuration onto the card. This can take a few minutes, so keep the page open and don’t unplug the card.
Step 7: Connect
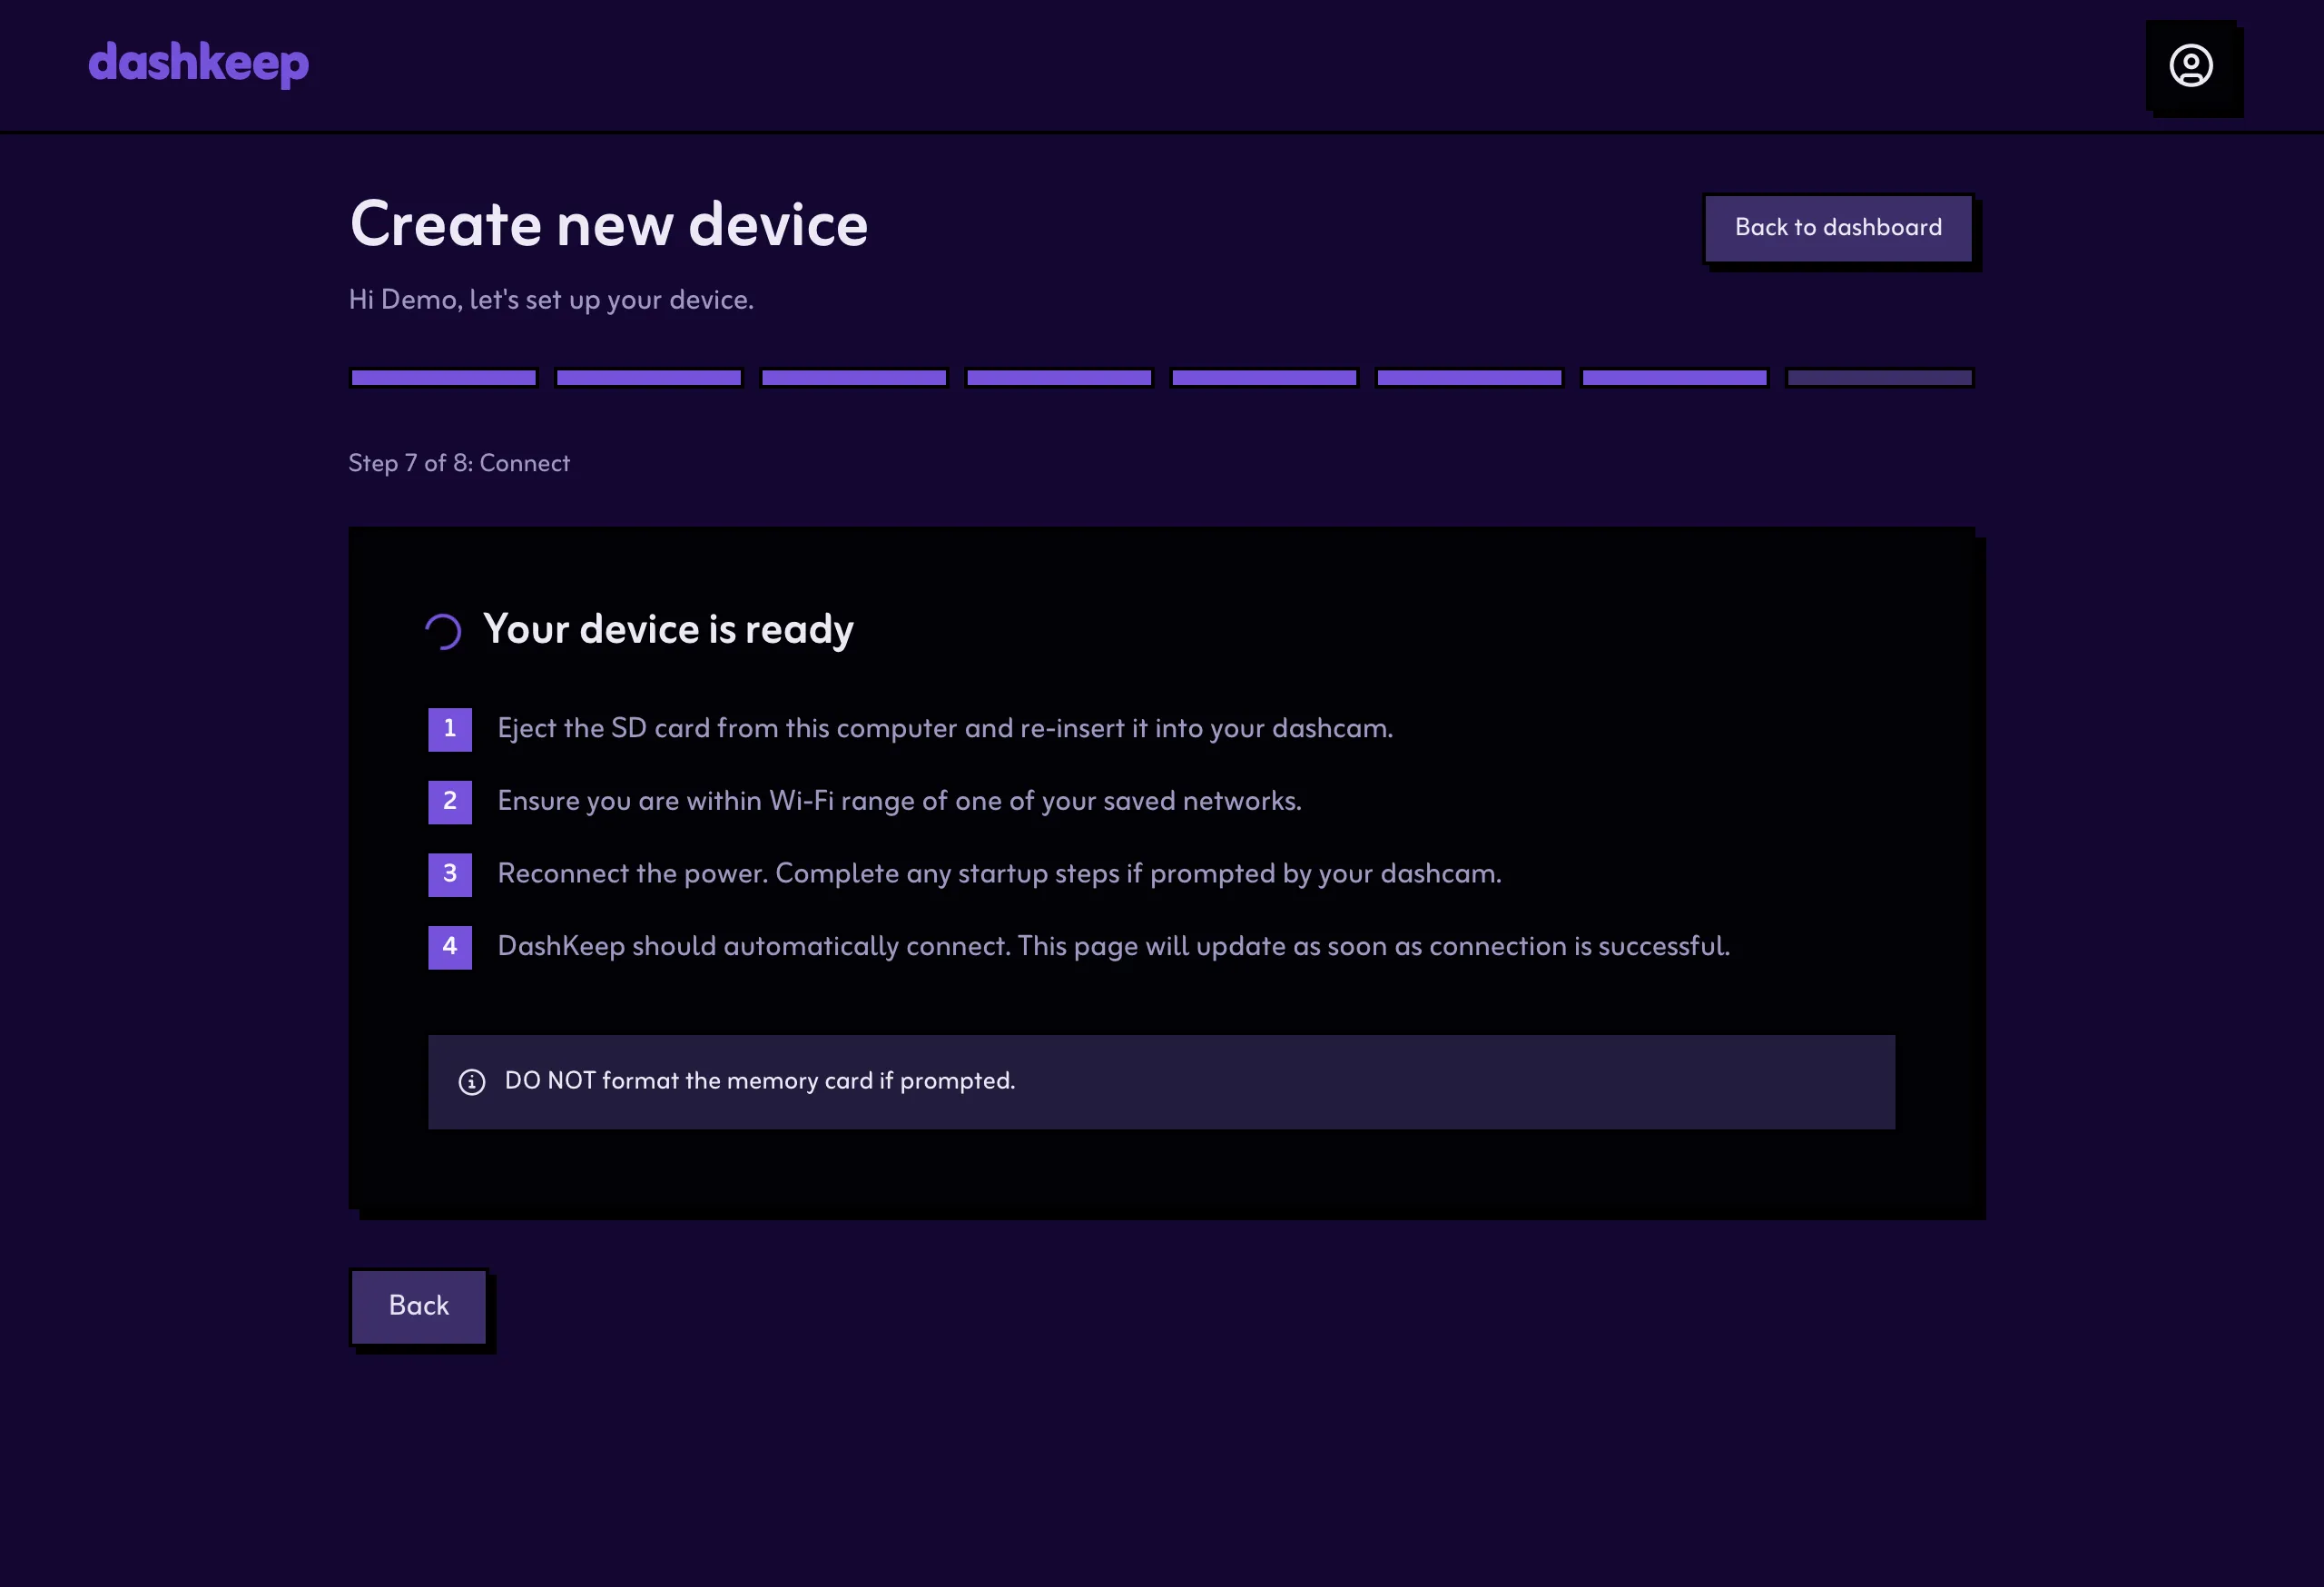
Section titled “Step 7: Connect”Put the card back in the camera and power it on, somewhere within range of one of the networks you added. The camera does the rest. DashKeep connects by itself: you never enable the camera’s Wi-Fi yourself. The page updates the moment the camera connects to the cloud for the first time.
Don’t format the memory card if the camera asks. Formatting wipes the DashKeep setup.
Finish with Plan and what happens next.